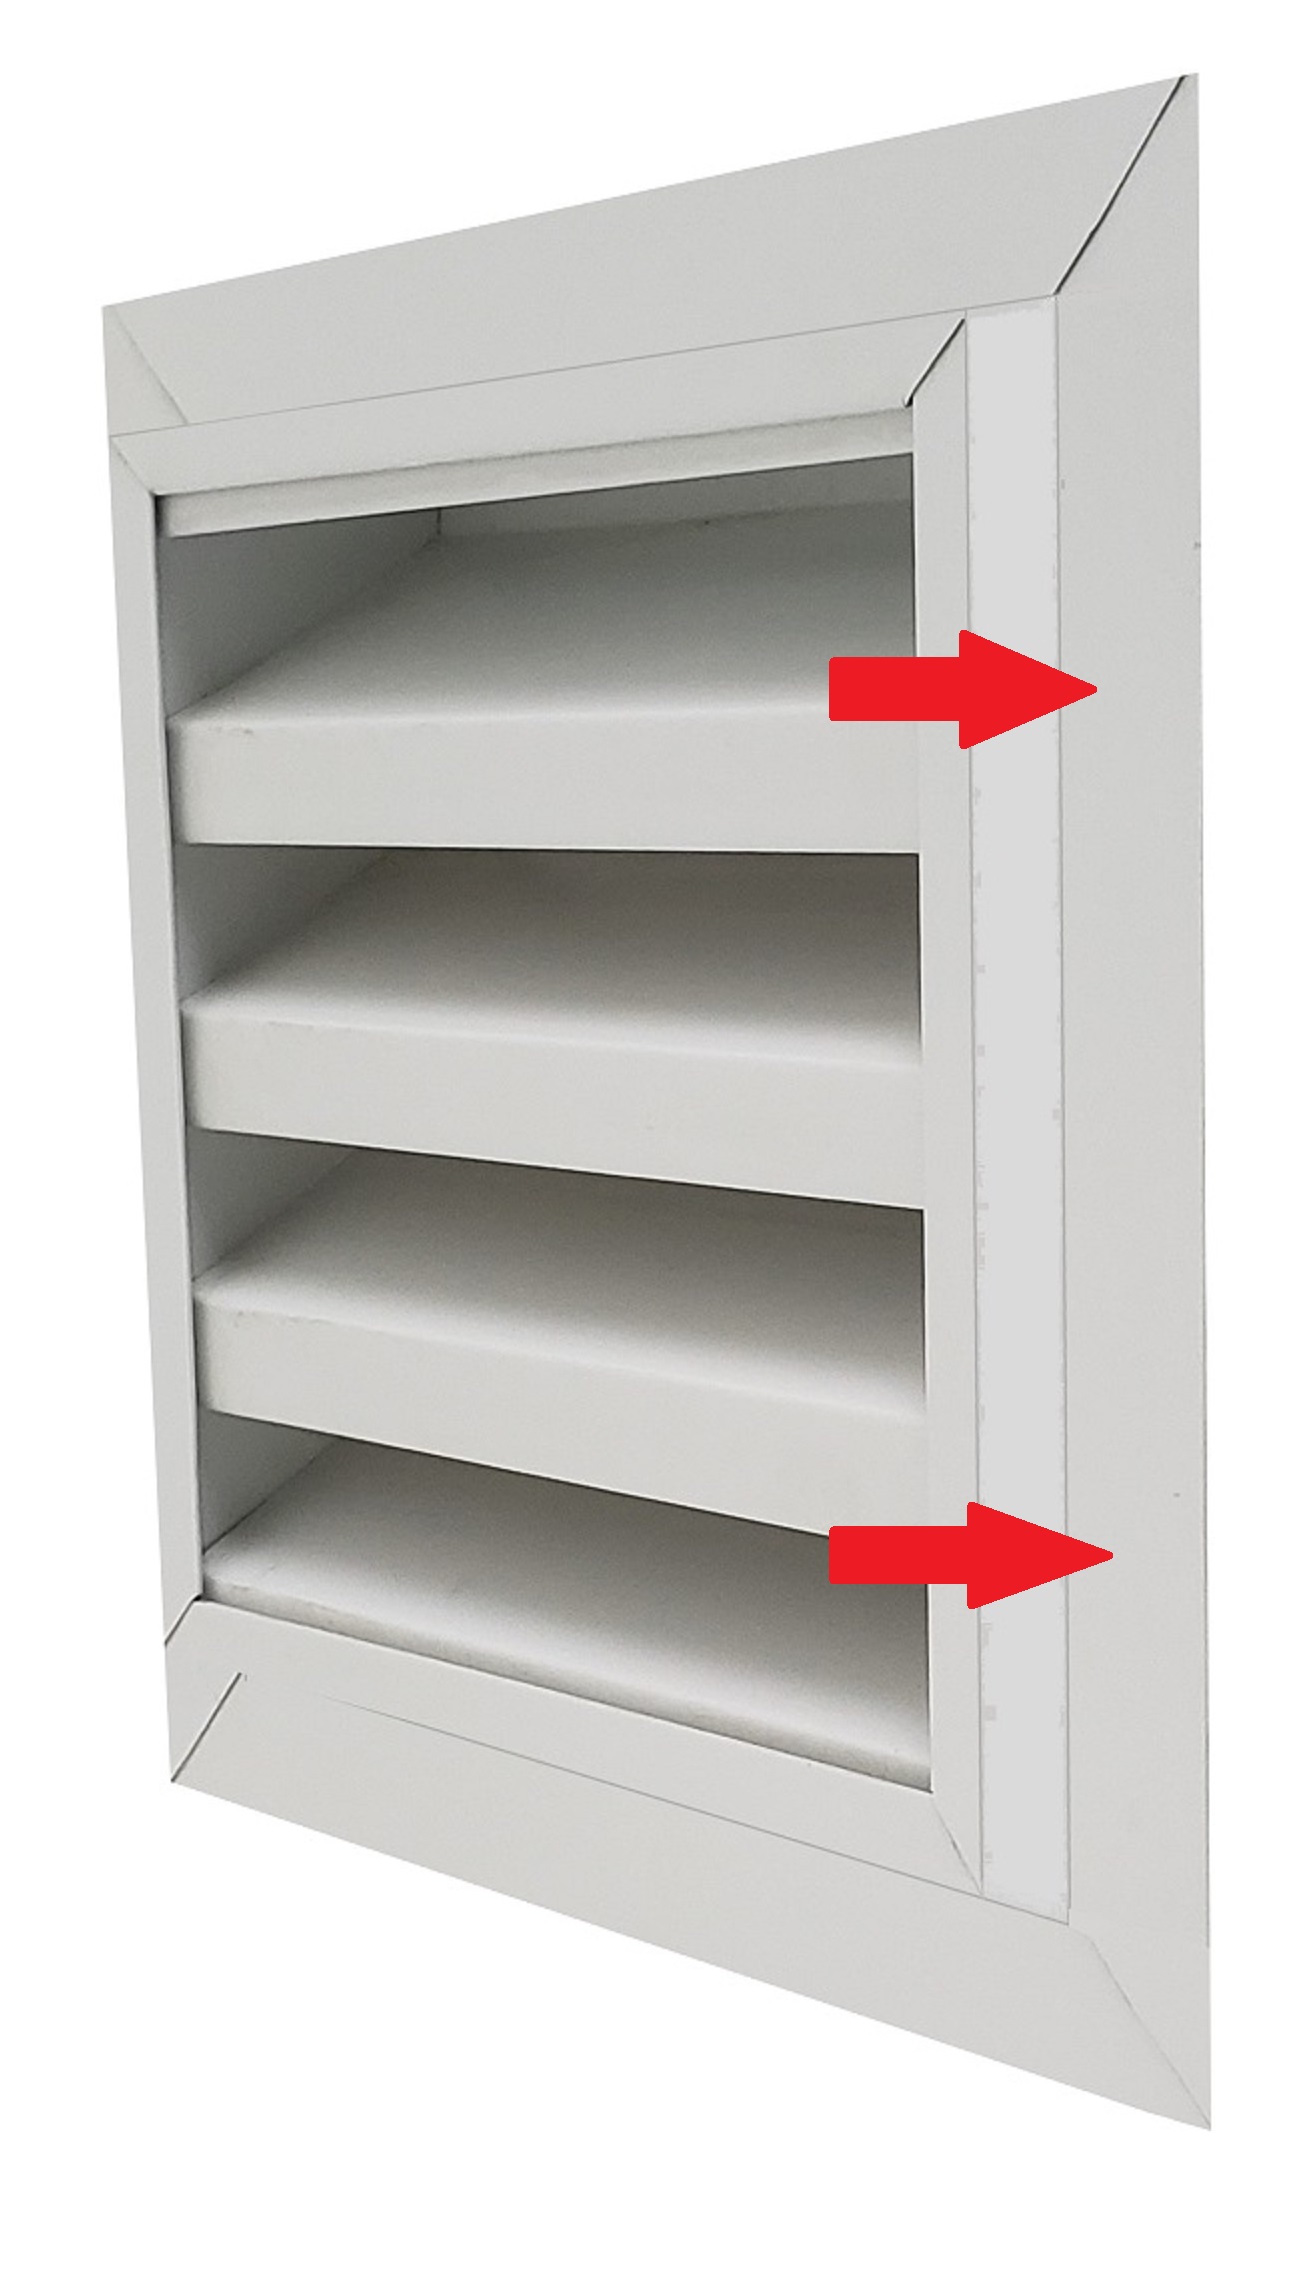
Installing a vent with a back flange should be done before siding or brick is applied.
Make sure the vent is the opening size.
Ideally, the rear flange should cover 1 1/2" of wall space all the way around the vent.
If the opening is not perfectly straight, it is alright.
The flange has 2 purposes on these style vents.
1. to cover the wall edge including any excessive gaps
2. to provide added water protection around the vent

Although these vents do have an aluminum frame
and can be mounted through the side walls,
the easiest is right through the back flange into the wall surface.
Once, installed, apply rubberized window tape to seal the edges to the wall wrap.
This provides extra water protection to the wall.
Now, it is ready to install brick, siding, stucco or any other wall cladding.
Trick: These vents of depth 2", 3.5" and 5.5" can have the back flange
placed on the back or anywhere in the middle of the vent wall.
Choose how much vent is outside the gable wall and how much is in the attic.
Tip: If the wall is a finished product, these can be installed from inside the attic.
Choose how deep the vent needs to be to align with the attic side framing.
This is how far from the front the flange needs applied.
This is on a vent this deep or deeper, of course.
Slide the vent into the opening from inside the attic.
Screw or nail right through the flange (in reverse of above).
Now, the bad news.
The vent seal will still need to be done from the outside.
But at least, the hardest part was made much easier.
If the flange might get in the way of the install,
look at the no flange.