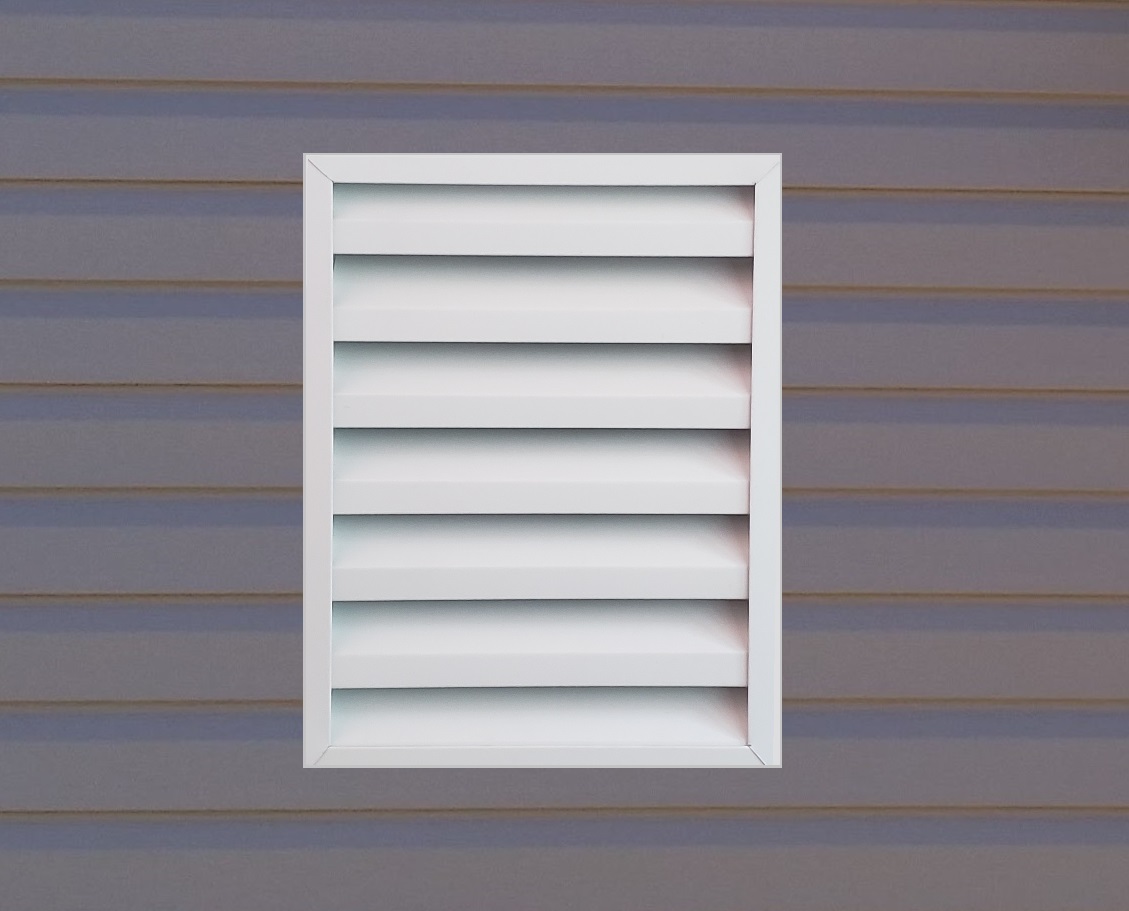
The "No Flange" vents have 3 mounting positions and 2 fastener options.
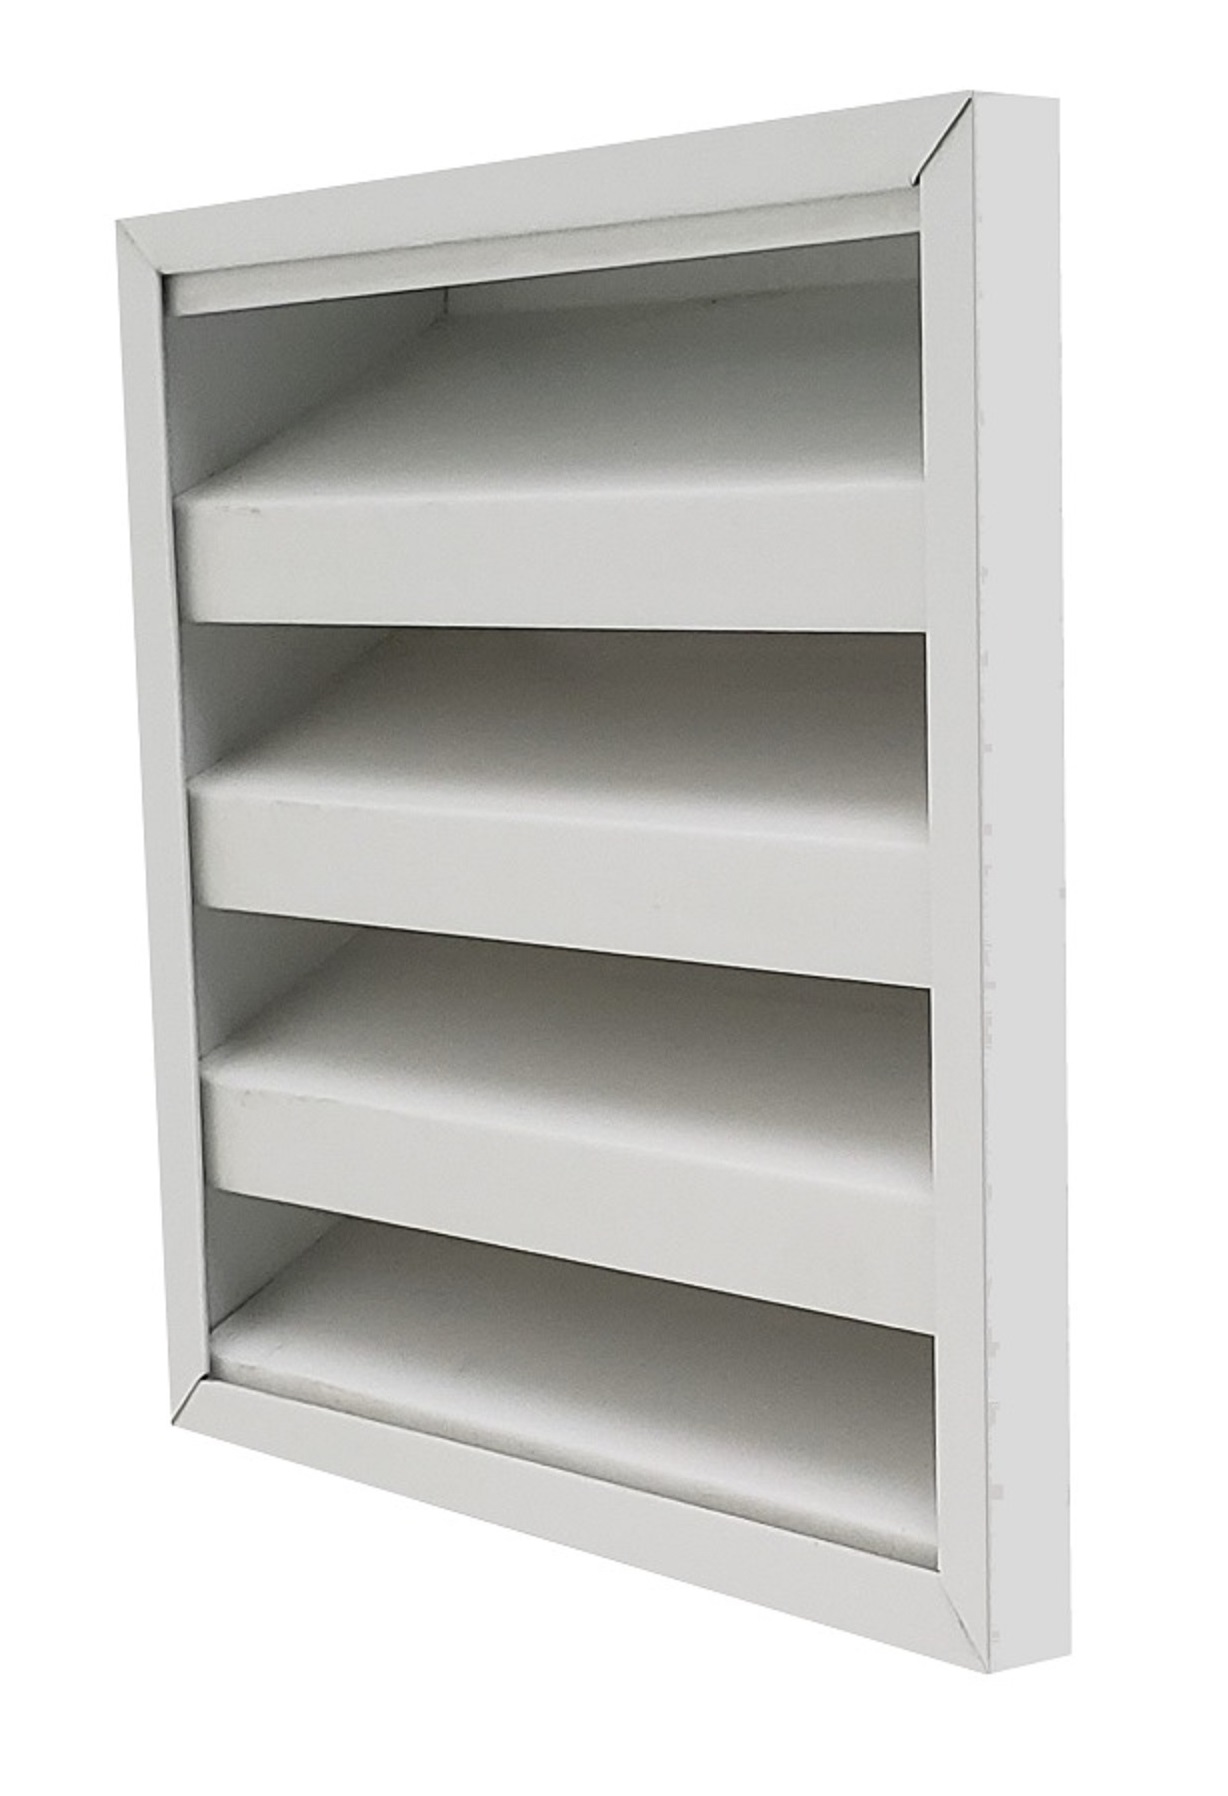
The vent itself may not look like it has much room for mounting.
But here are some tips and tricks to these vents with no nail fin.
The side walls of the vent are layered at a minimal 3 layers of aluminum.
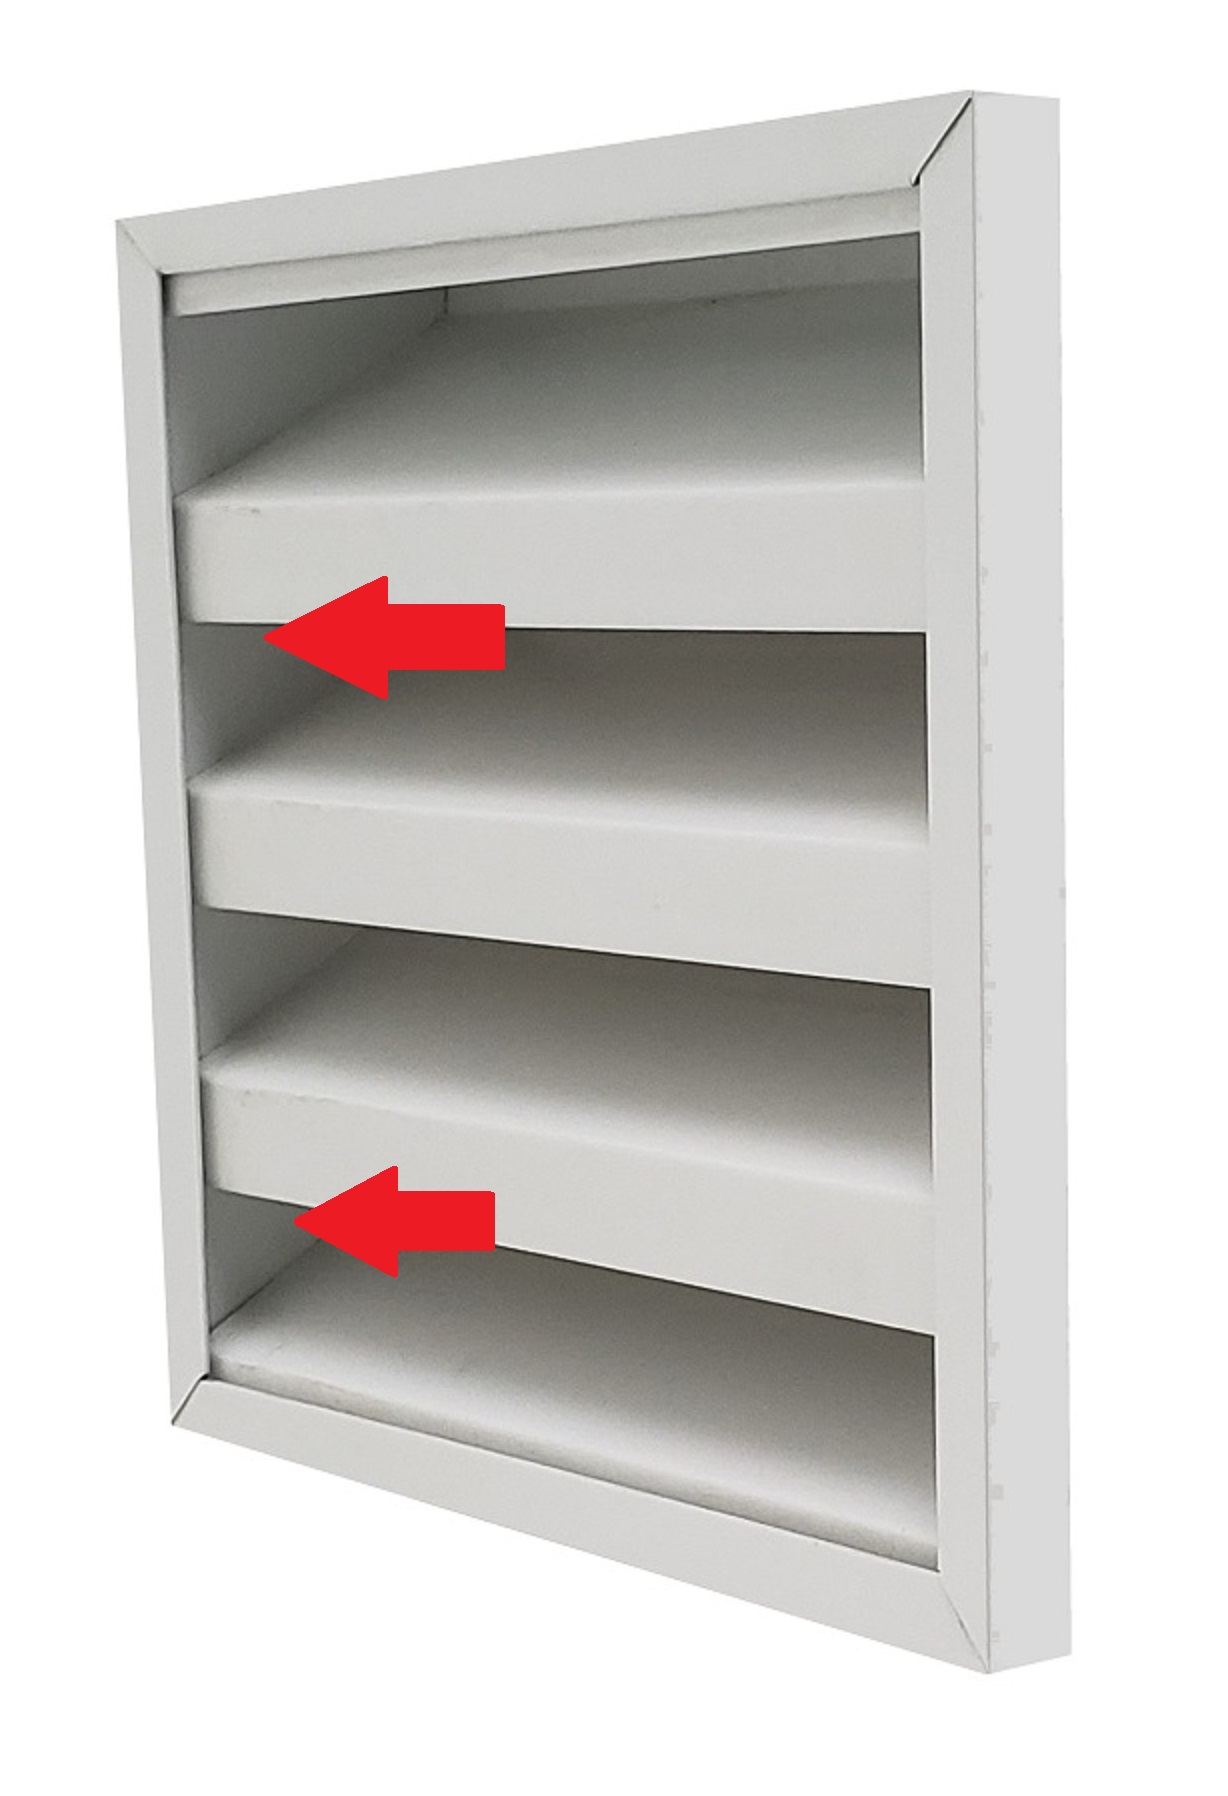
Along with the aluminum frame of the vent, screws can be applied right through the vent wall.
To hide the screw heads, they can be angled behind the louver faces.
Place a 4" or longer shaft on the drill to prevent scrubbing and scratching the louvers.
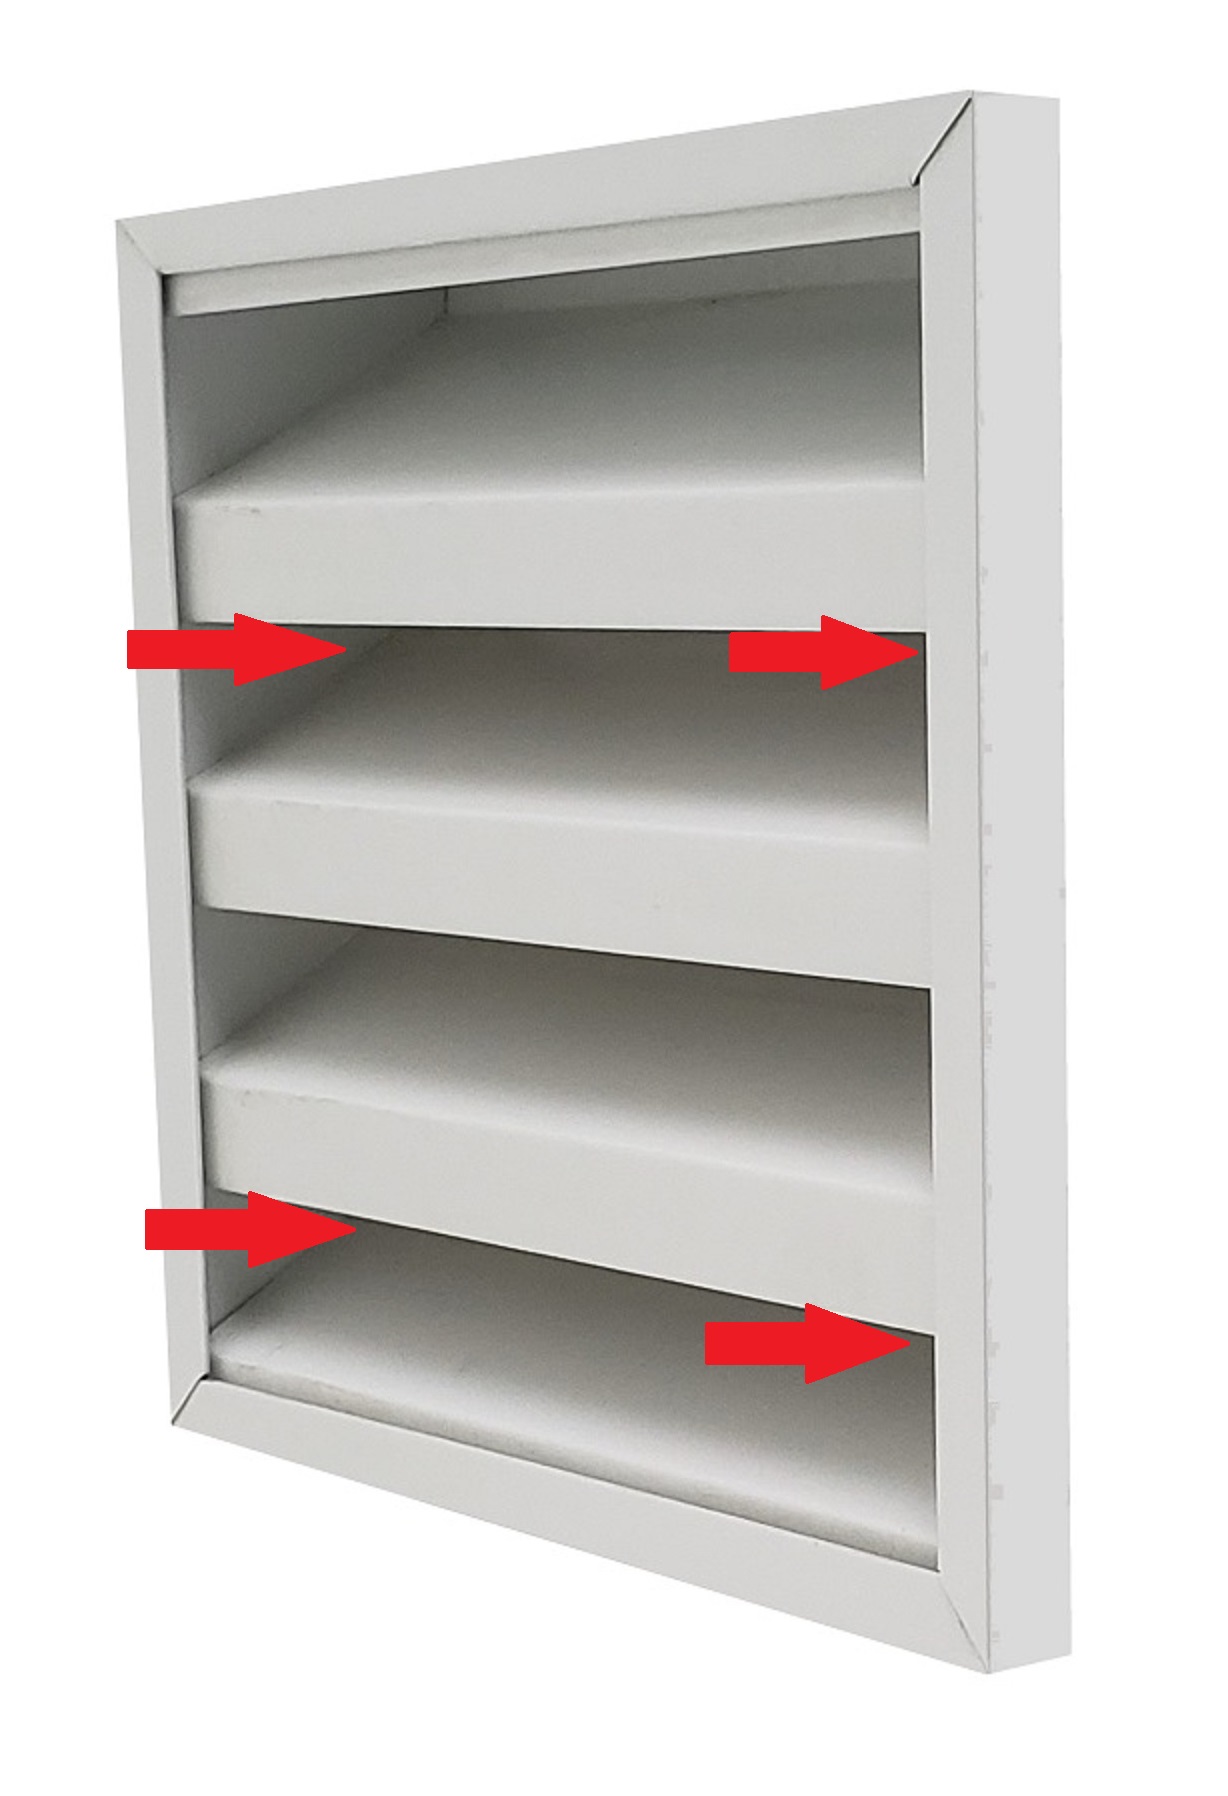
The other install option is the place the screws right through the back of the vent.
The rear edge has a lip hemmed over for this purpose.
When applying in this fashion, using black headed screws makes them less visible.
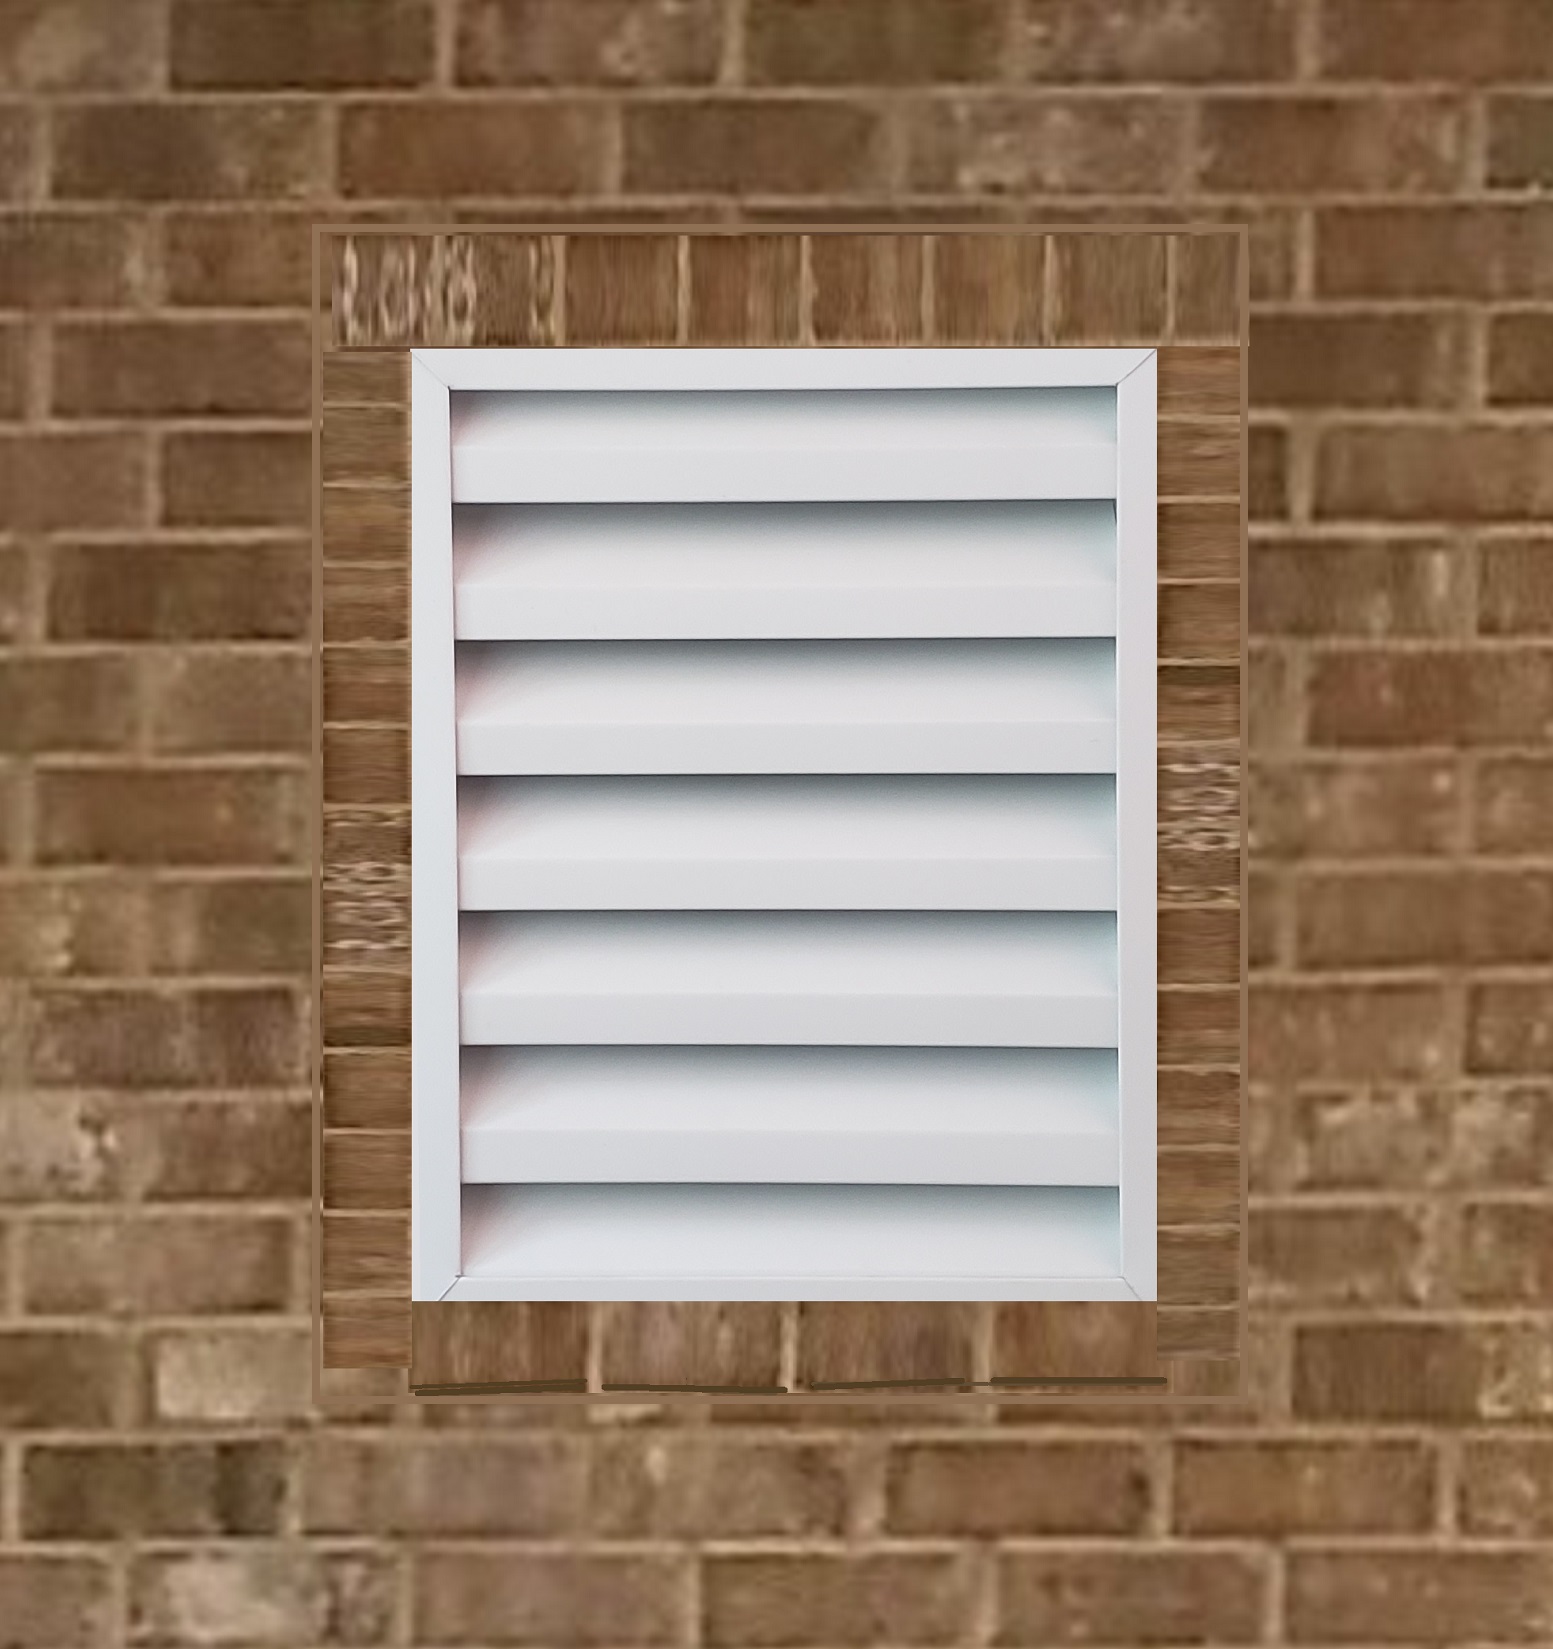
Installing the vent in brick is just inserting it in the brick opening.
Usually this will be a recessed install.
The framing should be behind the vent to screw through the back of the vent.
And seal it to the brick all the way around the vent.
The 1" no flange being only an inch thick, can be mounted right to the outside of the wall.
Since there will be no framing around the vent, place the screws right through the back of the vent.
When mounting outside the wall, seal at least the top and maybe the sides.
The bottom can be left unsealed as a weep hole in case the top seal does not hold.
To flush mount the vent, insert it into an opening with the face aligning with the outside of the wall.
If there is framing around the opening, it can be fastened though the vent walls.
But if the framing is behind the vent as a "stop", then screw right through the back.
Tip: The no flange vents can be installed from outside or inside the attic.
To install from inside the attic, screw a couple metal fins on the rear of the vent.
Once in place, these can be attached to the available framing.
Bad news is, the outside sealing still needs to be done.